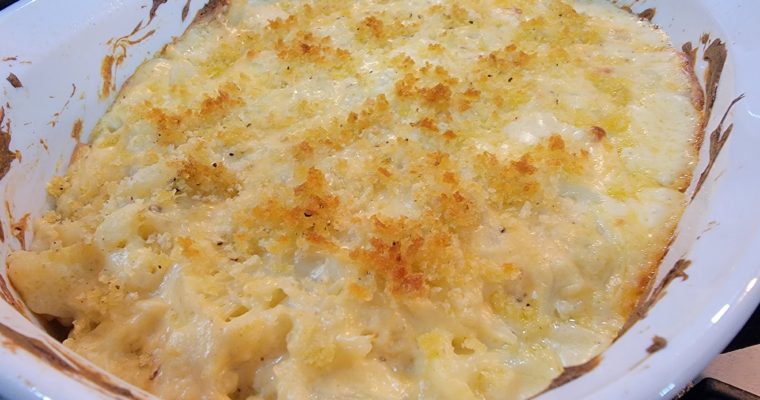
Cheesy Cauliflower Casserole
This casserole is so creamy and cheesy you will make it all the time. A wonderful low carb substitution for cheesy potatoes or Mac and cheese if your looking to lower your carb intake. You can use a mixture of your favorite cheeses in this…