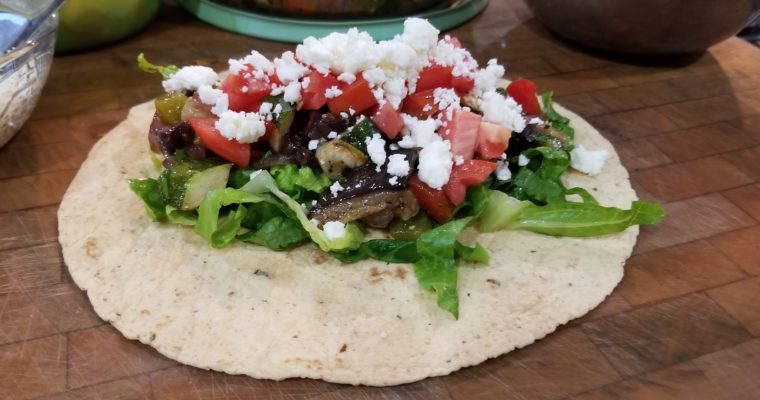

Cauliflower for Tacos
If you are tired of eating too much meat and want a flavorful alternative then try these cauliflower tacos. Not only is it meat free it is also pretty low carb since it uses lettuce to wrap the taco in, instead of shells/tortillas. This saute…